Editing Key entries
To edit individual Yarn (Colour) or Border entries;-
-
Select the entry in the key (see Selection Tools).
-
On the main menu bar, select either Border > Edit Border Properties or Yarn > Edit Yarn Properties as appropriate. Either the Edit Border dialog or the Edit Yarn dialog opens.
-
Change properties as desired.
-
Select OK.
Stitch type entries are edited by customising the palette (See Viewing and editing stitch libraries).
To edit the labels of individual key entries (including those of stitch types) use direct editing as follows;-
-
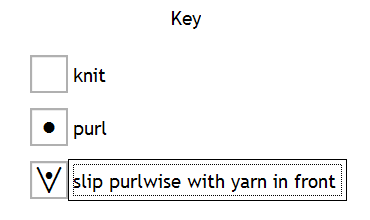
Select the label in the key by clicking once anywhere on the label text.

The label will show selection with a thin black outline.
-
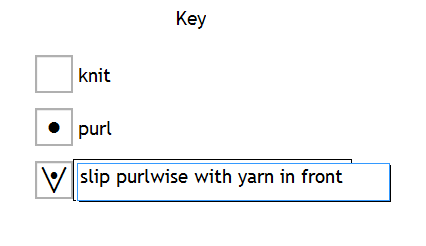
Click again anywhere on the label text.

The label will change to an editable text box with a white background.
-
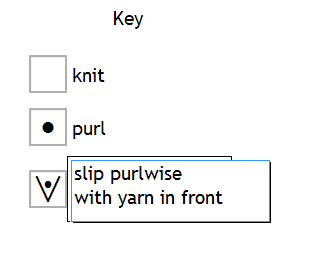
Edit the text.

Using the keystroke Control+Enter creates a new line.
-
Pressing Enter updates the label to the entered text.
Deleting Key Entries
Individual entries can be deleted from the key. If the entry is for a border then deleting the entry also deletes the border and removes the border from all stitches in the chart.
If the entry is for a yarn (colour) or for a stitch type then, if the yarn or stitch type is used by any stitch in the chart, the user will be prompted to replace the yarn or stitch type with an alternative. The default yarn cannot be deleted but can be hidden.
To delete an entry;-
-
Select the entry in the key (see Selection Tools).
-
On the main menu bar, select either Edit > Cut or Edit > Delete.
-
(Optional) If the yarn or stitch type is is use, either the Replace Stitch Type dialog or the Replace Yarn dialog opens.
-
Select an alternative yarn / stitch type.
-
Select OK.
Alternatively use the keystrokes Control+X (on Windows) or Cmd+X (on macOS) or select the Cut / Delete Icons from the toolbar.
Alternative sources of explanation:
Comments
0 comments
Please sign in to leave a comment.